Showing posts with label home. Show all posts

May 30, 2013

Little bits of lovely

I love working on little details in our home. It's those details that make this place we live in so particular to us and not just any apartment you see on Pinterest or in a magazine (also the clutter and mess...)

I made this wreath sometime last year and its been hanging on our tv/art wall since Christmas. I purposefully made it black so I could easily change the decor on it to fit any season or holiday. But, since its me we're talking about, even easy decor changes can get procrastinated on for months.

Sunday, May 26...I finally took the Christmas colors off the wreath and added some colors to carry us through any season and match the living room. I also did this about 20 minutes before guests were scheduled arrive. Pressure inspires me...as with any procrastinator ;)

May 29, 2013

Homebodies

David and I both enjoy going out and seeing people, live music, movies, and being outside. We're also homebodies though. When we're tired or just want to relax, the best remedy is to just hang out together at home.

This led to our slight snap decision to go out and buy a new couch this past weekend. We'd talked about it before but decided our old futon was fine. Well...finally it just wasn't fine anymore. Plus, I'll be spending a lot of time home on the couch in a few weeks so we decided it was time for a big purchase.

We decided pretty quickly on this awesome corner sofa in light grey from ikea and we love it! It's comfy, there's room for both of us to stretch out and Chuy thinks its pretty cool too.

After getting the sofa into our third floor apartment we were inspired to finally clean up the living/dining area of our home. Now all that's left is organizing and cleaning up our studio. I love how this apartment becomes home more and more each day. Enjoy some pics :)

Chuy loves the new sofa
Do you see a little friend?


May 16, 2012

before & after: tick tock


I wanted to share a quick before & after I did last week.  This is a simple rusch wall clock from IKEA.  At only $1.99 I had my mom grab me two last time she journeyed to IKEA.  They've both been sitting on our kitchen counter for way too long and I got antsy the other day and needed to let my fingers rest from constant knitting.  I grabbed one and took it apart.  I was hoping I could just slip the current face out and use is as a template to make a new one in a more fun color or with fabric, but alas, it was double stick taped in like no one's business.

I gave in and decided I could just paint this one to spruce it up a bit.  Our music/craft room is painted "red" on two walls (it looks more hot pink to me, but that's another story) and we have pops of orange and yellow in the room already so I thought orange could be fun.

I began painting and of course they used glossy paper so the acrylic paint didn't want to stick to it very well.  If you could look closely at the clock you'd see some messy painting, but I don't care too much on this project.  I used fabric puff paint to go over the numbers and dots, luckily I could see them pretty clearly through the orange paint.

The original second hand was red and just looked blah over the orange face (plus it was a true red and I knew it would clash anywhere near our pink-red walls).  I tried painting it yellow first but didn't like it so I added enough silver paint to hie the yellow then covered it in silver glitter paint.  I love it!
When I finished I held it up to show David in front of our grey dining room wall and he said it looked too "halloweeny."  Luckily, it doesn't give off that vibe on a red(pink) wall.

When I'm not in such an impatient mood I plan to redo the other clock for our bathroom.  It's decorated in yellows and grays so that should be fun.  I might just mod podge some yellow bird fabric I have right on the clock face and forget the numbers, but we'll see.

April 24, 2012

A wall: before & after

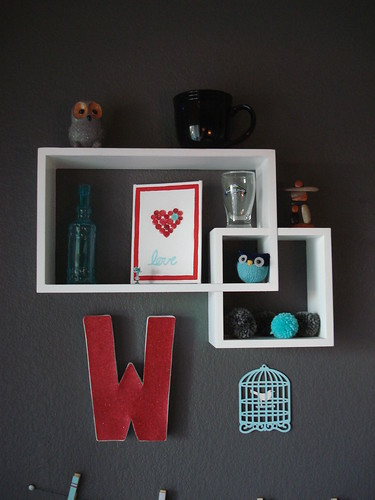
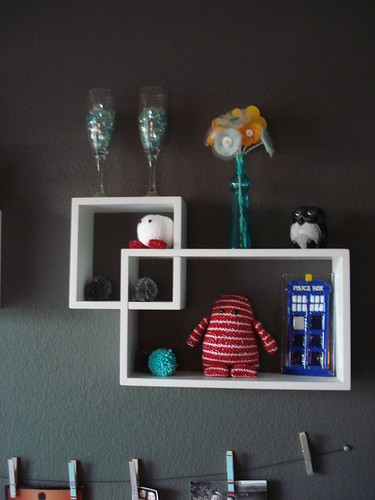
This wall behind our dining table has been bugging me lately. It had random stuff on it with no real color scheme to it. Our kitchen is red and aqua so I wanted that to carry over to the dining area.

What's great about this little redesign is it was all free! I'm a big fan of free. I simply took everything off that didn't go with the colors I wanted and then rearranged what was left and scoured the apartment for like-colored items.

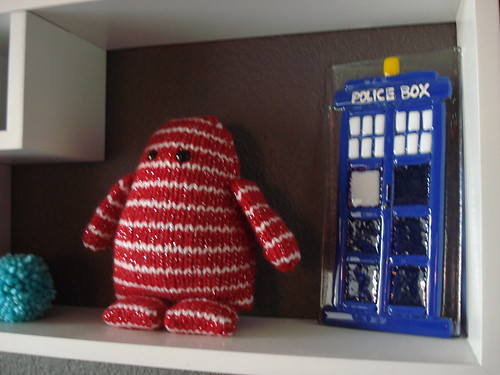
I decided to keep some neutral colored pieces (black, gray, brown) and some dark blue and yellow. The blue pieces let me put our awesome glass Tardis panel up there. Our friend Sophie made it for us for Christmas and this is the perfect display place for it! There was also a bit of sparkly navy on my little knit owl.

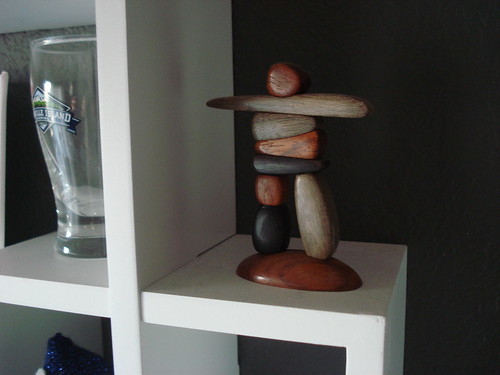
Some of the pieces are handmade by me, some were wedding shower gifts, and others are souvenirs from our honeymoon in Vancouver.

I don't have a great picture of the wall before but I moved the W and birdcage woodcut. They were in the middle and looked really random. I wanted to be able to hang the picture line straight across the space and get some balance. Moving the W and birdcage into the empty space under the higher shelf really helped with this.

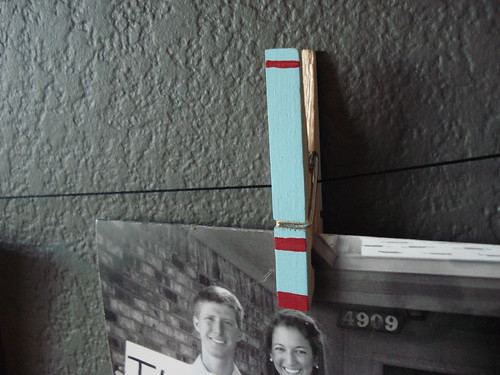
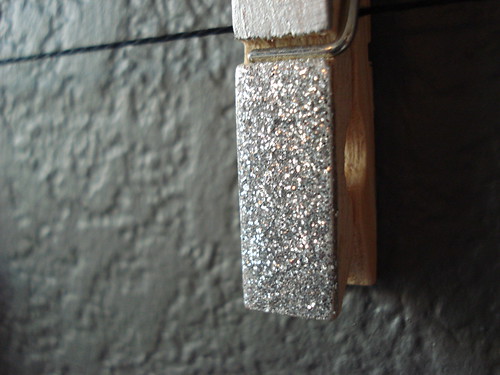
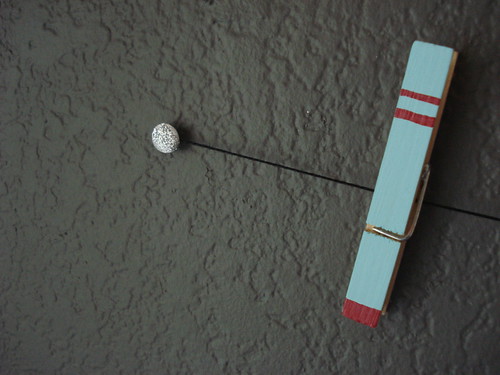
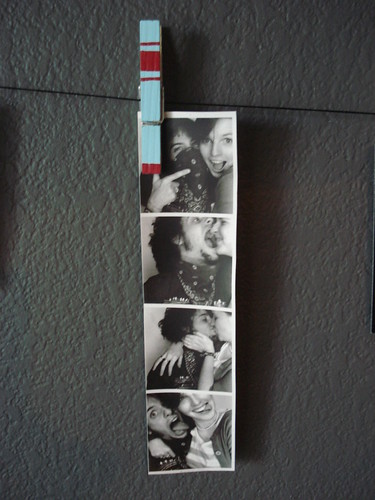
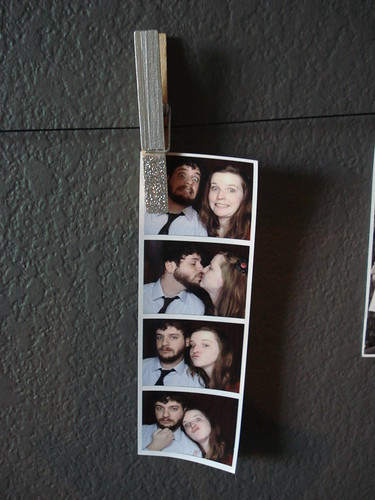
This biggest new addition to the wall is the picture line. I love it! I painted the clothespins a few days ago and simply clipped them on some black cotton embroidery thread held up by thumbtacks. I painted the tacks with the same silver glitter from the silver clothespins.

All these pictures were on our fridge but I love having them displayed more visibly here. The photo booth pics are us from 4 years ago and a few months ago. The other pics are save the dates and thank you cards from friends who all got married in the last year.

There's still a little void next to the birdcage but I have an embroidery piece I plan to hang whenever I finally finish it :)

Hope you liked this little before & after. I have lots of little projects in the making and can't wait to share them with yall!


January 23, 2012

new project!

 I've been searching for some kind of jewelry hanger for my necklaces ever since we got married.  There seem to be many options out there for a counter top jewelry display, but not many at all to mount on the wall.  I wanted something fun but not ridiculous.  I eventually gave up and put 3 nails in the wall next to our medicine cabinet and hung my headbands and necklaces there...and groaned every time I saw it.

yay for blurry pics
I was perusing pinterest last week and saw a picture of a canvas with some hooks on the bottom that someone was selling on etsy.  It looked simple enough and I thought I can totally do that for my necklaces!

The next day we went to Michael's and I bought an 8x10 canvas and some smaller/longer ones for some other crafting experiments (see my mini hall makeover from the other day).  I had the soft gray fabric on hand already and picked the hooks up at Lowes.  I simply cut the fabric to be a few inches larger than the canvas, stretched it around and stapled with our little staple gun.  I then added 2 strips of thin white ribbon for a little pizzaz.  I was going to find a patterned fabric but decided that might be too much with necklaces hanging in front.  I like the simplicity the ribbon adds.  Fianlly I screwed 9 hooks in.  These were a mother to get in!  The first one was easy, then they started getting dumb.  I think some were screwed through a knot in the wood, and others through the layers where the corners are held together in the wood frame.  Needless to say, my fingers were sore after the final hook.

To hang it in our bathroom I simply put 2 nails in the wall and set the top of the frame on them. I figured it's not holding a lot and is very likely to get bumped where it is so no need for a more complex hanging device.
 
ribbon detail
I love how this turned out, as simple as it is, and I can't wait to figure something else out for all my hair flowers and bows.  They're about to fall off the ribbon I have them hanging on and I want more storage room so I can make more :)

Shiny tealy goodness


Here's my first decorating project post-Christmas.  This sad dark little mini hallway is just a nook between the guest bathroom and our craft/music room.  There's no direct light to it, no color, and no cheer.  It's been easily overlooked during the past year.  We did have a canvas we glued some stuff to on a church family retreat hanging here but neither of us liked it and so it came down without hesitation.

An old, sad, white mirror one of my old roommates bought in our dorm days had been sitting on the floor with the intention of being hung by the front door for a few months.  When I held it up in its planned place neither David or I liked it there.  We looked around and decided it could replace the old canvas thing in the little nook.

We got it hung and liked it but the colorless area still looked dead.  While getting a canvas for a jewelry holder (coming soon!) I picked up some long skinny ones to play with for this area.  I also bought some cup hooks and awesome turquoise spray paint.  


Skip ahead a day and Ta-da! The little splash of color did the trick perfectly!   I painted the canvas the same color as the mirror, then added 3 cup hooks and stapled on some white ribbon with sparkly silver dots for some added punch.  I originally thought about painting some fun design but decided the area needed something simpler...and sparklier :)


Now, I can't wait to start on some of my other projects around here...and see what else I can spray paint turquoise!

November 6, 2011

day 6: lazy Sunday evenings

nap time

Our weekends have been pretty busy lately.  By the time lunch rolls around after church I'm ready for a 3 day nap usually.  Today we ate with my parents, ran by Old Navy, then picked up Chuy from my parent's house and headed home.  I took a nap to the tune of whatever video game David played then woke up and read a little bit.  Chuy passed out on the floor by his toy (see the above proof).  It was so nice to just be there at home with my little family.  There was no schedule, no one to entertain or be entertained by, and I could be in my comfy pants.  I made spaghetti and we watched a new tv show we like.

Later I pulled down all our Halloween decorations and started prepping for Christmas(!)  David did some work and I got our tree all set up.  We watched a documentary about Conan O'Brien's tour and how he really felt about NBC, so many funny moments.  By the time it was over our tree was fully decorated, minus a topper, and my bowl of sweet potato tots was empty (I needed a tree decorating snack).

I'm so thankful for days like these with David and Chuy.  I enjoy going out and enjoying time with friends very much, but there's just something about being in your home and making it yours with the ones you love and share that home with.  I know I'm blessed to even have a place that I can call home when so many don't have that simple luxury.  I'm blessed because of who I share it with and who we can share it with temporarily for movie nights and dinners.  I'm so excited to get the rest of the place decorated for my favorite holiday and have many friends over throughout the season.

Most of all, I'm thankful that the Lord knew we needed a day of rest.  He knew that we would overextend ourselves and, if not commanded to, would forget to rest and just be in Him.

September 21, 2011

halloweeeeeeeeeen

boo!
 I've been itching to decorate for Christmas, honestly...since I moved into our apartment back in January.  I've been able to hold off because I knew it was too early in January, then I was busy with wedding planning.  As Christmas draws closer the only thing keeping me from covering the place in red and green is decorating for other holidays first.  Oh, and David would disown me.  I've had some of these decorations for over a month but I knew it was too early for even Halloween.  I didn't even mean to put everything up yesterday, it just sort of happened.

The above ghost is from Target and I just couldn't pass him up.  I'm not into creepy decor but I love cute.  Plus, I grew up with snowmen made of the same clear rubbery stuff and he made me feel all nostalgic :)

The below spider has been painted and ready to hang for at least a month.

handpainted spider
 Here's a basic shot of our mantle.  The lighting in the morning is weird so all you get right now is an instagram pic from my phone.  There are also orange, purple, and green lights above this that go down each side of our mantle.  The lower garland is made of felt polka dots I cut out and sewed together.  The garland above the wreath is just glittery purple pom poms strung on black yarn.  The wreath is covered with more of the same purple glitz and some orange and black ornaments.

mantle decor
Finally having my own mantle to decorate should keep my holiday whims from barfing all over the apartment, ha.  I hope to get some better pics later, but we'll see. :)

July 30, 2011

pictures galore

Ok so I took a bunch of pictures...here we go!

headband I knit with sparkly gray yarn, love it!

Projects for our dining room wall:
glittery W

close up of the glitz

first part of this embroidery project. I plan to embroider our names in black over the &

Kitchen art:
red & aqua art

my favorite print and little aqua flower

magnets

Chuy tried to eat one...

Guest bathroom:
pom-pom and felt flowers & watercolor print

blue, lime & teal

wedding pom-poms

more wedding pom-poms

Craft/music room:
my side of our crafting room...this is clean compared to what it was

made these curtains and more wedding pom-poms

my fave part of the crafting area

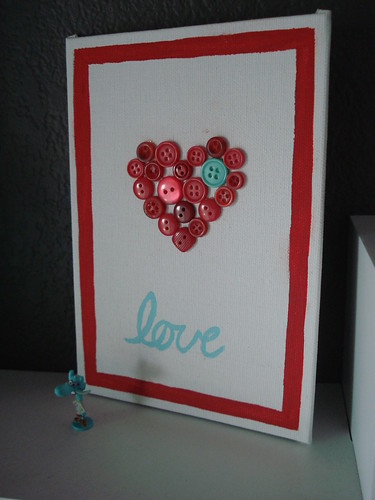
buttons!

Our bathroom:
finally hung our medicine cabinet and my hair flowers

birdy music print

ha, more wedding pom-poms and flowers

Halloween sneak peek:
spider

garland

Christmas sneak peek:
future stockings

monsters

Chuy says hi :)